mail_outline sales@mediastorehouse.com
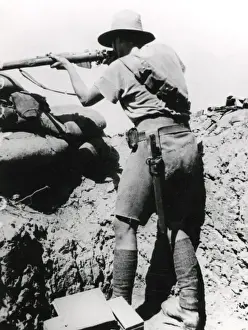
Australian soldier near Gaza, WW1An Australian soldier taking aim with his rifle near Gaza during the First World War. Date: circa 1917
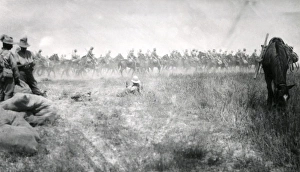
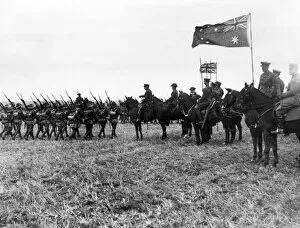
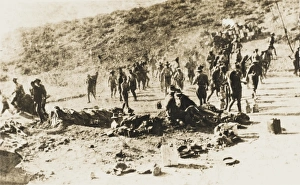
Australian troops, Second Battle of Gaza, WW1Australian troops moving forward during the Second Battle of Gaza, Palestine, First World War. Date: 19 April 1917
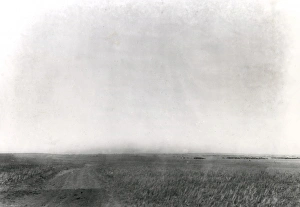
5th Light Horse Regiment position near Gaza, WW1General view of the Australian 5th Light Horse Regiments position in front of Gaza during the First World War. Date: 1917
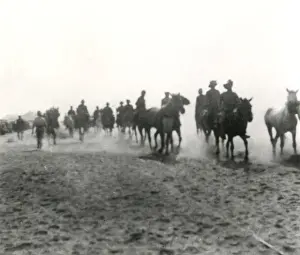
Mounted Anzac troops in the desert near Gaza, WW1Mounted Anzac troops force the Wadi Ghuzzi and outflank Gaza by a rapid detour across the desert during the First World War. Date: 1917
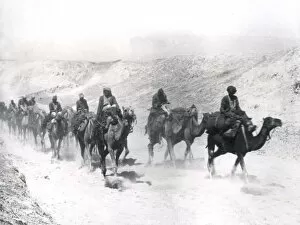
Desert Mounted Corps with camels, Jordan, WW1The Anzac Desert Mounted Corps with camels in the Jordan Valley during the First World War. Date: 1917-1918
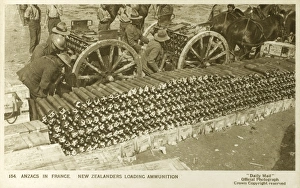
Loading Shells - New Zealand Troops in FranceLoading artillery shells - Anzac New Zealand soldiers in active service in France during World War One. The postcard shows the artillery shells being packed into their limbers from a large open-air
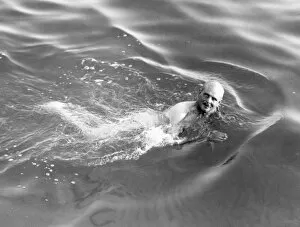
General Birdwood swimmingBritish General William Birdwood (1865 - 1951) swimming at Anzac Cove where he had led a landing of Australian and New Zealand Army Corps troops as part of the amphibious invasion of the Gallipoli
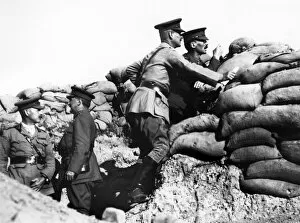
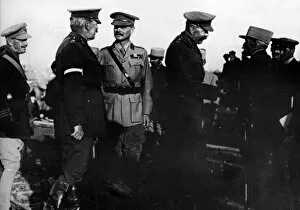
Kitchener, Birdwood and McMahon, Anzac Cove, WW1Lord Herbert Kitchener, Lieutenant-General Sir W R Birdwood and Sir Henry McMahon at Anzac Cove during the Gallipoli Campaign, First World War. They are in a trench, looking over the parapet
Kitchener, Birdwood, Godley and Maxwell, Anzac, WW1Lord Herbert Kitchener (second left), Lieutenant-General Sir William Birdwood (far left), Major-General Alexander Godley (second right) and Major-General John Maxwell (far right) at North Beach
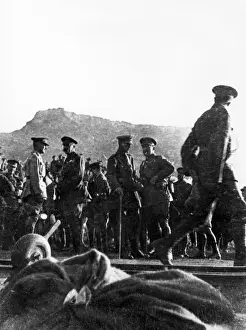
Sir Douglas Haig reviewing troops, Ebblinghem, FranceField Marshal Sir Douglas Haig (1861-1928), British army officer, reviewing the 5th Australian Division at Ebblinghem, northern France, during the First World War. August 1917
Kitchener, Birdwood and a French general, WW1Lord Herbert Kitchener (right of centre) and Lieutenant-General Sir W R Birdwood (left of centre) at Anzac Cove during the Gallipoli Campaign, First World War
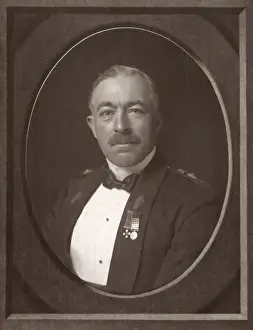
General Sir J F Laycock, British Army officer, WW1Brigadier General Sir Joseph Frederick Laycock (1867-1952), British Army officer. During the First World War he served in the Middle East, including a command of the Royal Artillery
Gas alarm at Gallipoli WWIFalse alarm of a gas attack at Anzac where men of the 3rd Light Horse Regiment have taken cover during World War I
Soldiers at Gallipoli WWISoldiers in Anzac Cove at Gallipoli during World War I
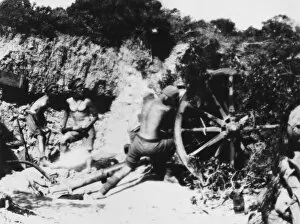
Anzac artillery WWIGun from 9th battery in action at Anzac during World War I in Gallipoli
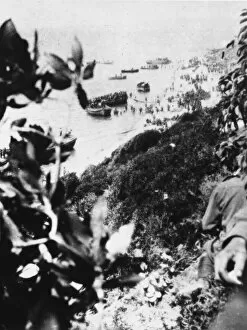
Gallipoli landing WWIThe landing at Anzac at Gallipoli during World War I
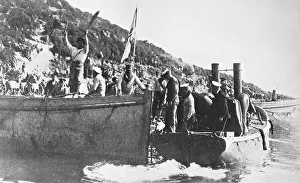
Australian landing at Gallipoli WWIAustralian troops disembarking at Anzac Cove at Gallipoli during World War I
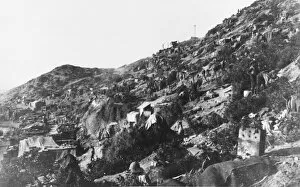
Anzac Cove WWIAnzac Cove at Gallipoli during World War I
Anzac evacuation WWIAnzac Cove evacuation from from Gallipoli during World War I
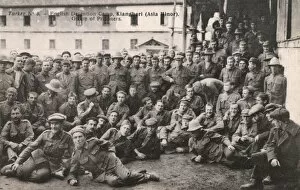
Turkish Prisoner of War Camp - WWITukish Prisoner of War ( Detention ) Camp at Kiangheri (Asia Minor) during the First World War, housing captured British and Colonial troops, captured during the Dardanelles Campaign
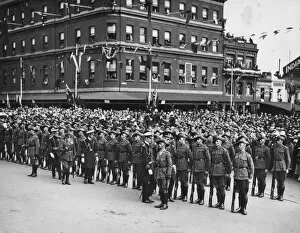
Duke and Duchess of York on Anzac DayThe Duke and Duchess of York (later King George VI and Queen Elizabeth) in Melbourne, Australia, on Anzac Day. This tour, which lasted six months
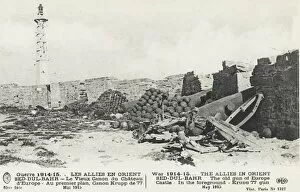
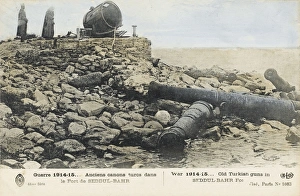
Captured Turkish Guns - 1915Captured Turkish guns, manufactured by Krupp (77s) in the Old European Castle with piles of ammunition. War in the Dardanelles - 1915. Sed Dul-Bahr
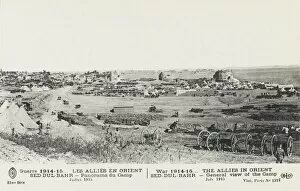
Allied camp at Sed Dul-BahrThe allied camp at Sed Dul-Bahr in the Dardanelles. Wagons, carts and supplies can be seen in the foreground
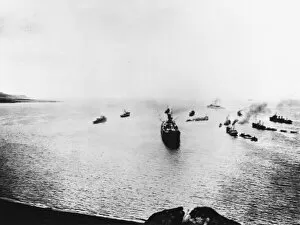
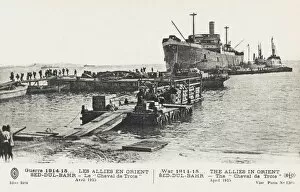
French supply ship Cheval de Troie - DardanellesWar in the Dardanelles - 1915. A view of the French supply ship or personnel carrier Cheval de Troie (Trojan Horse) moored up at Sed Dul-Bahr
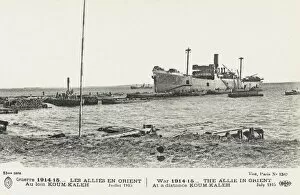
Allied force - DardanellesAllied forces unloading equipment and supplies at the Sed Dul-Bahr Fort. The inclined planes used for the first landing of forces here are visible
Supply ship - Sed Dul-Bahr, Dardanelles 1914Asiatic coast of the Dardanelles, following the landing of Allied forces. A French supply ship or troop carrier Cheval de Troie ( The Trojan Horse)
WWI - Dardanelles - Turkish gunsDardanelles, Turkey. Old Turkish Guns in Sed Dul-Bahr Fort
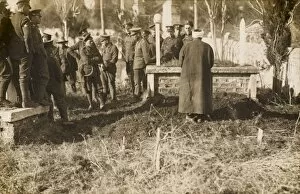
British Soldiers at Muslim Burial - GallipoliA group of British and Australian allied forces at Gallipoli in the Dardanelles witness a Muslim burial conducted by the local Imam (possibly the burial of a local assistant to their cause?)
ANZAC Troops at Gallipoli - 1915The landing of Australian and New Zealand Troops (ANZAC) at Galipolli, Dardanelles, Turkey during World War One
General (Field Marshal) Birdwood / StampField Marshal WILLIAM RIDDELL BIRDWOOD, 1st Baron Birdwood (1865 - 1951) First World War British general. Commander of the Australian and New Zealand Army Corps (ANZAC)
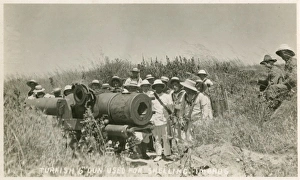
Australian Sailors visiting Gallipoli Sites - surrounding Turkish 6" gun used for shelling Imbros
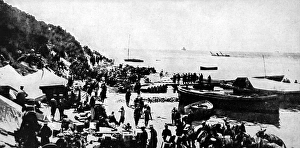
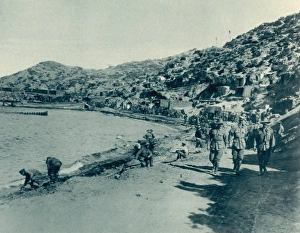
Stores arriving at GallipoliA war stores depot for an Australasian division, on the beach at Galllipoli. The Dardanelles campaign, the aim of which was to overpower Turkey, who had entered the war on Germanys side
A view of Anzac Cove, west coast of GallipoliThis view shows Anzac Cove which was the base for the Australian and New Zealand troops at Gallipoli. Some of the fiercest fighting took place in this area. The soldiers are wearing slouch hats