mail_outline sales@mediastorehouse.com
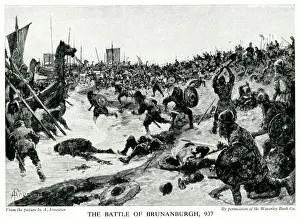
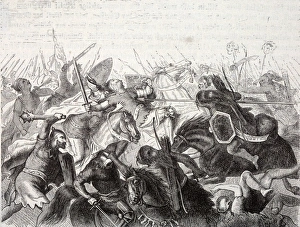
Battle of Brunanburh during the Viking invasions of EnglandBattle of Brunanburh between the Anglo-Saxon King Aethelstan and an alliance of Olaf Guthfrithson and others, during the Viking invasions of England
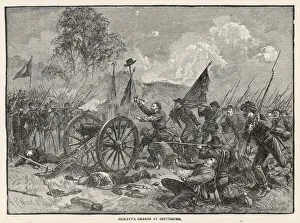
Gettysburg / CassellsPicketts charge. Marking a turning point, this battle ended with a Union victory, but both sides suffered heavy losses
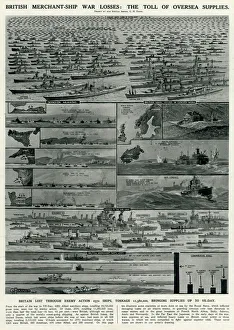
British merchant ship war losses by G. H. DavisBritish merchant ship war losses during the Second World War: the toll of oversea supplies. Britain lost through enemy action 2570 ships and over 11 million tonnage
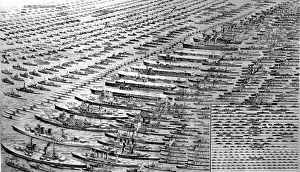
Royal Navy losses in both World Wars, 1945Illustration showing the ships lost by the British Royal Navy during the Second World War (main picture) compared with those lost during the First World War (inset bottom right)
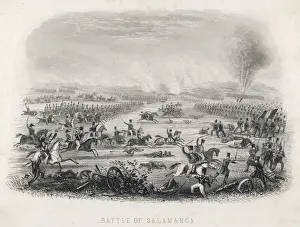
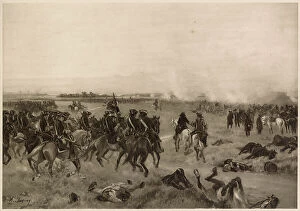
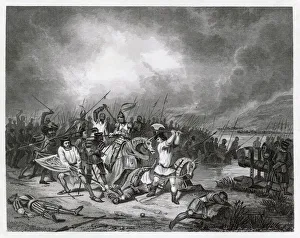
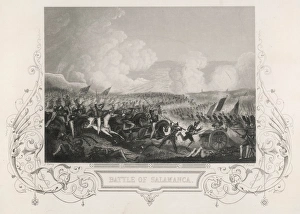
Salamanca 1812 (Kelly)At SALAMANCA Wellington scores a great victory, destroying a third of the French army in 45 minutes : British losses were only one-third of the French
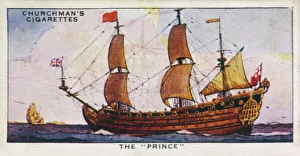
Prince Sailing ShipWarship of the Royal Navy, which will take part in the battle of Sole Bay, 28 May 1672, when the English and French fight the Dutch with heavy losses on both sides
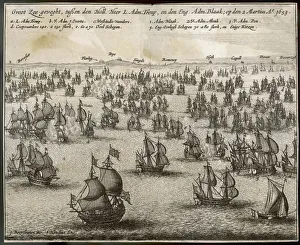
Battle of Portland 1653BATTLE OF PORTLAND (Three-days battle), 1st Anglo-Dutch War. Robert Blake & fleet of the Commonwealth of England attack Dutch under Maarten Tromp who suffered heavy losses
RMS Carpathia, salvaged red octagonal floor tileRMS Carpathia, salvaged red patterned earthenware octagonal floor tile from an unknown location on the ship, approx. 0.875 (d) x 5.875 (w) x 6 inches (diameter)
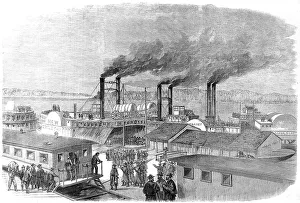
The war in America: General Pope's division at the Levee, CaGeneral Pope's division on its way from New Madrid to reinforce General Halleck, near Corinth. Reinforcements are seen arriving by train for the Battle of Shiloh, April 6-7th 1862
BATTLE OF MALPLAQUET The Allies under Marlborough and Prince Eugene defeat the French under Villars but with heavy losses - the 18th century's bloodiest battle Date: 11 September 1709
Second Battle of Abukir : 5000 newly-landed British troops under Abercromby drive 2000 French from their positions, but with heavy losses from the French guns Date: 8 March 1801
BATTLE OF SPOTSYLVANIAA continuation of the Battle of the Wilderness, the Confederates under General Lee attacked by Grant. Both armies ended in their original positions with heavy losses. Date: 10-12 May 1864
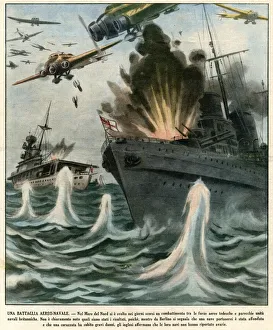
Air and sea battle between British and German forces, WW2A combined air and sea battle in the North Sea between British and German forces during the early stages of the Second World War
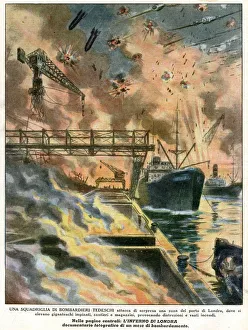
GERMAN NIGHT BOMBINGHeavy losses cause the Germans to abandon daylight raids and resume night bombing of the Port of London Date: October 1940
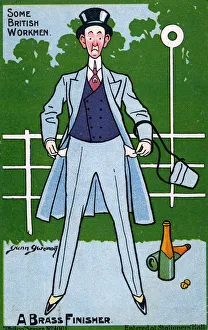
Some British Workmen - A Brass Finisher - play on words as this punter has lost ( finished with ) all his brass. Perhaps the consumption of the two bottle of champagne (pictured discarded behind him)
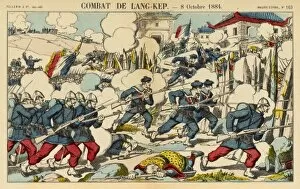
French in Vietnam 1884FRENCH IN TONKIN French soldiers and sailors under general Negrier take the town of Lamg-Kep : Chinese losses were very heavy, including several mandarins
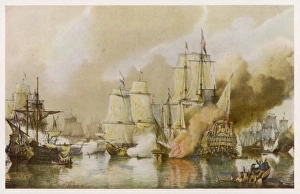
Battle of Solebay 1672BATTLE OF SOLEBAY (Southwold Bay) between the English/French fleet and the Dutch: both sides suffered heavy losses
Scene at the Battle of Morat, SwitzerlandScene at the Battle of Morat (Murten), Canton of Fribourg, Switzerland, between Charles I, Duke of Burgundy (Charles the Bold) and a Swiss Confederation
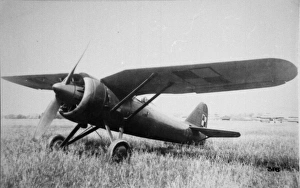
PZL P-11 -initially flown in August 1931, these antiquated fighters were pitted against the Luftwaffe when Germany invaded Poland and sustained heavy losses
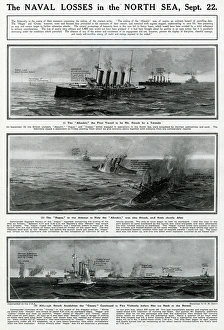
Naval losses in North Sea by G. H. DavisThe naval losses in the North Sea, all on the same day. (1) The Aboukir, struck by a German torpedo. (2) The Hogue, struck and sunk while trying to help the Aboukir
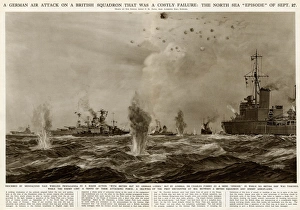
German air attack on British squadron by G. H. DavisA German air attack on a British squadron in the North Sea, 150 miles off the coast of Norway, in the early stages of the Second World War
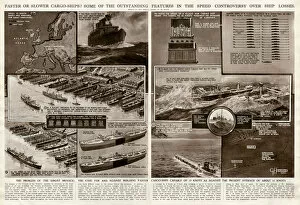
Speed controversy and ship losses by G. H. DavisFaster or slower cargo ships? Some of the outstanding features in the speed controversy over ship losses during the Second World War
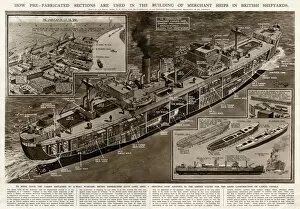
Building merchant ships by G. H. DavisHow pre-fabricated sections are used in the building of merchant ships in British shipyards during the Second World War. Rapid construction of cargo vessels to make good the losses sustained by
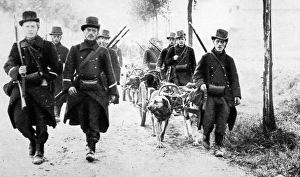
Belgian soldiers retreatBelgian soldiers in August 1914, retreating to Antwerp, accompanied by dogs pulling machine guns. As the Germans pushed their invasion through Belgium, the Belgium army was forced to retreat
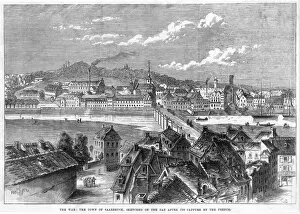
Germany SaarbruckenThe town sketched on the day after its capture by the French, one of Prussias rare losses during the Franco- Prussian war
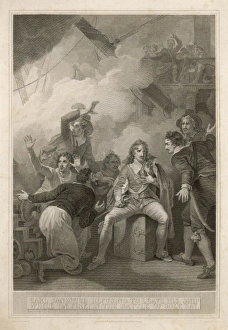
Battle of SolebayDuring the battle of SOUTHWOLD BAY (or SOLEBAY) the earl of Sandwich refuses to leave his burning ship. Though the Dutch suffer heavy losses the battle is indecisive
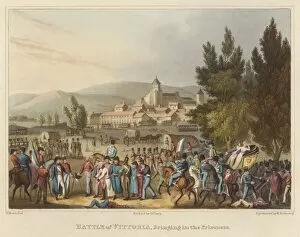
Vittoria PrisonersBATTLE OF VITORIA (VITTORIA) Wellingtons men rout Jourdain s, with heavy losses - here, some of the 2000 captured Frenchmen are brought in
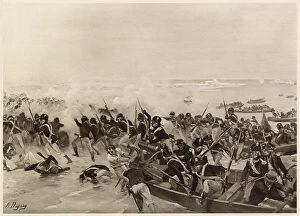
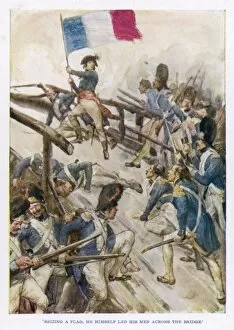
Italian Campaign / LodiITALIAN CAMPAIGN Marching on Milan, Napoleon successfully leads the French army across the bridge of Lodi, defeating the Austrians, but with heavy losses of life. Date: 10 May 1796
Battle of ColensoAt COLENSO, the Boers are in a strong position to repel Buller when he makes a brave attack on their position, forcing him to retire with heavy losses
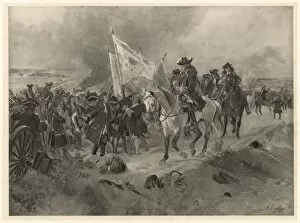
Ramillies (Dupray)BATTLE OF RAMILLIES The Allies under Marlborough and Prince Eugene defeat the French under Villeroy who suffer heavy losses
Battle of Salamanca 1812At SALAMANCA Wellington scores a great victory, destroying a third of the French army in 45 minutes : British losses were only one-third of the French
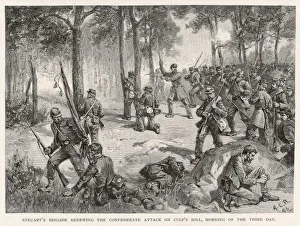
Gettysburg / CenturyDay 3: Confederates attack Culps Hill. Marking a turning point, this battle ended with a Union victory, but both sides suffered heavy losses
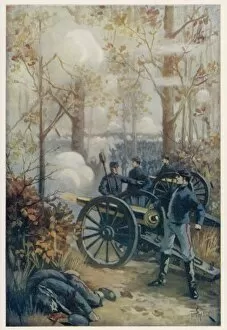
Battle of Shiloh / ElsonTHE BATTLE OF SHILOH An engagement between Union forces under General Grant and Confederate forces under Albert Johnston. Losses were heavy on both sides
Boer War; StormbergBATTLE OF STORMBERG Gatacre, misled by guides, runs into trouble when he attacks the Boer position and suffers heavy losses
Boer War; ModderspruitMODDERSPRUIT (Modder River) Boers under Cronje attack Lord Methuens column but are driven from their positions : the mules suffer as many losses as the men
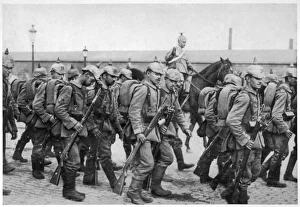
Germans in BelgiumGerman infantry leave Brussels to attack Antwerp, which is at present the centre of Belgian resistance; it will shortly fall, with heavy losses and terrible destruction
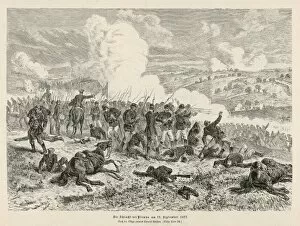
3rd Battle of PlevnaTHIRD BATTLE OF PLEVNA The Russians take part of the fortress but are repulsed, with heavy losses on both sides and no clear victory for either
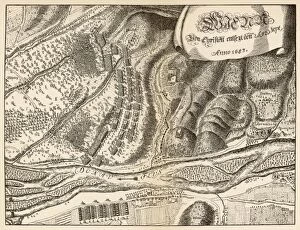
Siege of Vienna 1683SIEGE OF VIENNA 138 thousand Turks are besieging Vienna when John Sobieski III of Poland comes to the rescue and routs the Turks with enormous losses
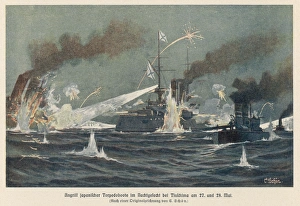
Tsushima (Schon - 1BATTLE OF TSUSHIMA STRAIT A Japanese torpedo boat is blown up by the Russians - one of the few Japanese losses in Togos overwhelming defeat of the Russian fleet
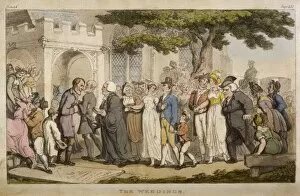
Vicar of WakefieldAll ends happily - George weds Arabella, Sophia weds Mr Burchell (revealed as a nobleman), Olive lives & the Vicars losses are less than feared
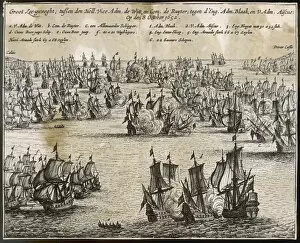
Battle of Kentish KnockBATTLE OF THE KENTISH KNOCK 1st Anglo-Dutch War. Admiral Witte de With & the Dutch fleet engage the English, led by Blake but are beaten back with severe losses
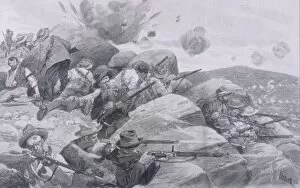
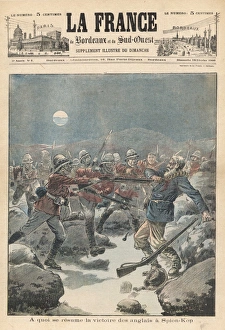
Spion Kop - BordeauxAt SPION KOP, the British take the hill, but are unable to hold it and have to retire with heavy losses
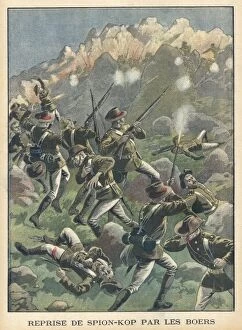
Spion Kop - P. JournalAt SPION KOP, Buller and Warren fail to break through the Boer lines despite taking Spion Kop; they have to retire with heavy losses
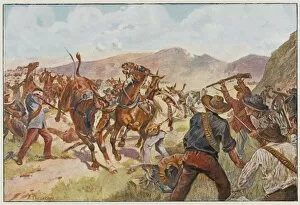
Mongols Invade GermanyGERMANY / HUNGARY The Mongol armies invade Eastern Europe and inflict serious losses on the German nobles at Liegnitz