mail_outline sales@mediastorehouse.com
Colonel David Stirling with a patrol in the desertColonel David Stirling with a patrol of Special Air Service (SAS) men in the Middle East. Date: 1944
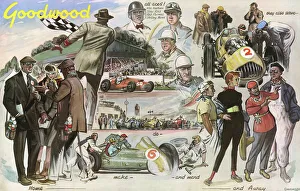
Goodwood by EmmwoodA montage of exciting scenes from Goodwood, including mechanics working on racing cars, portraits of motoring aces, Mike Hawthorn, Tony Rolt
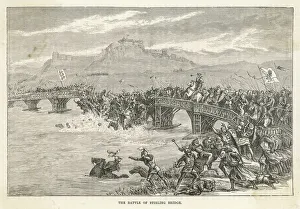
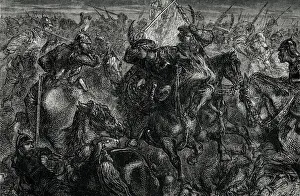
Battle of Stirling BridgBATTLE OF STIRLING BRIDGE English defeated by Scots, led by William Wallace
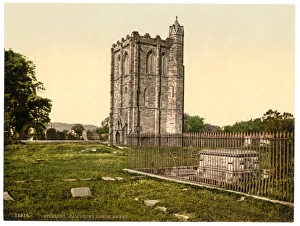
Cambuskenneth Abbey, Stirling, Scotland. Date between ca. 1890 and ca. 1900
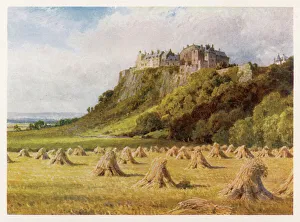
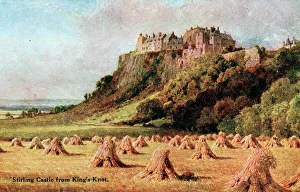
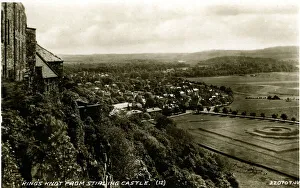
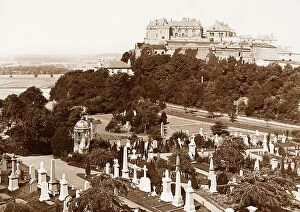
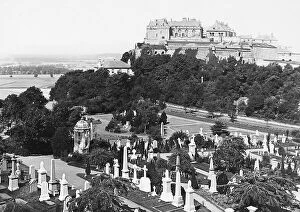
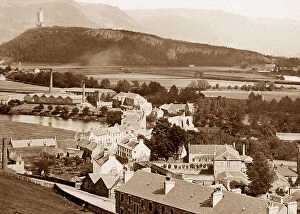
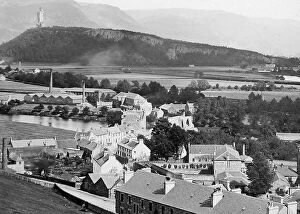
Stirling Castle 1904Stirling Castle, from the Kings Knot
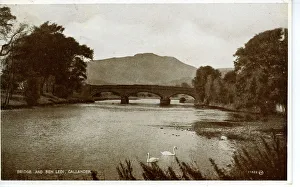
Bridge & Ben Ledi, Callander, StirlingshireBridge & Ben Ledi, Callander, Stirling, Stirlingshire, Scotland. Date: 1910s
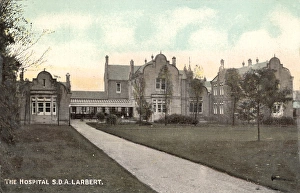
Hospital of Stirling District Asylum (Bellsdyke Hospital), LThe Hospital section of Stirling District Asylum (later renamed Bellsdyke Hospital). Date: circa 1913
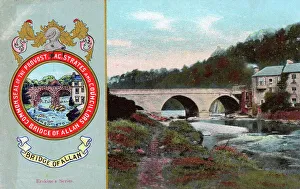
The Bridge - Bridge of Allan, ScotlandThe Bridge - Bridge of Allan - a town in the Stirling council area in Scotland, just north of the city of Stirling. The town lies on the Allan Water, a northern tributary of the River Forth
Short S29 Stirling towing Horsa
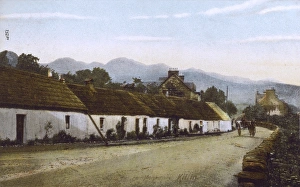
Monemore, Killin, ScotlandA row of old low cottages at Monemore, Killin, Striling, Scotland Date: circa 1907
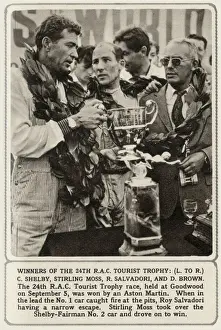
Winners of the 24th RAC Tourist Trophy Race at Goodwood (left to right): C Shelby, Stirling Moss, R Salvadori and D Brown driving an Aston Martin. Date: 1959
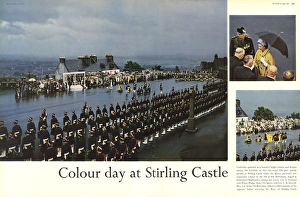
The Queen and Prince Philip at Stirling CastleQueen Elizabeth II talking to Old Comrades of the Argyll and Sutherland Highlanders at a parade and presentation of regimental colours to the 7th & 9th Battalions at Stirling Castle during a visit to
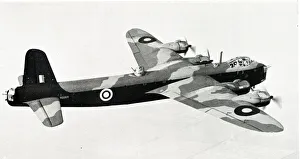
Short Stirling I N6001Short Stirling I, N6001
Stirling Castle from Kings Knot, Stirling, ScotlandStirling Castle viewed from Kings Knot, Stirling, Scotland. circa 1905
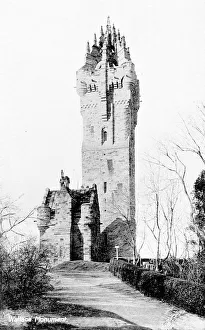
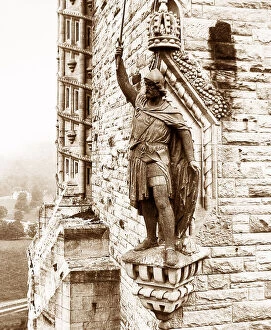
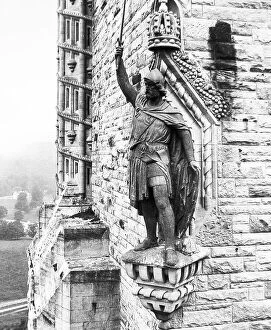
National Wallace Monument, Stirling, Scotland. Date: circa 1908
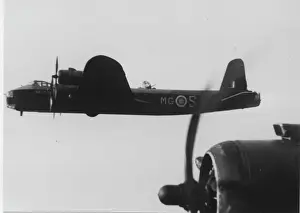
Short S29 Stirling I of No 7 Squadron, flying
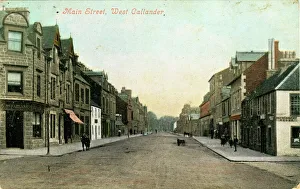
Main Street, West Callander, PerthshireMain Street, West Callander, near Stirling, Perthshire, Scotland. Date: 1909
Kings Knot from the Castle, Stirling, Stirlingshire, Scotland. Date: 1920s
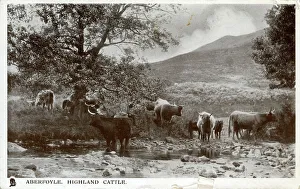
Highland Cattle, Aberfoyle, StirlingshireHighland Cattle, Aberfoyle, Loch Lomond and Trossachs National Park, near Stirling, Stirlingshire, Scotland. Date: 1920s
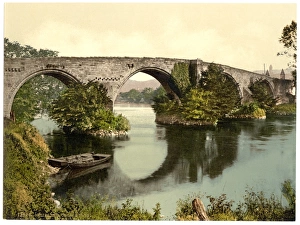
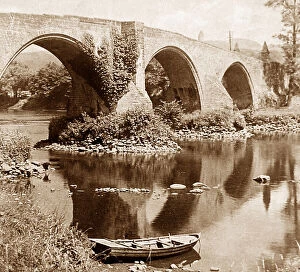
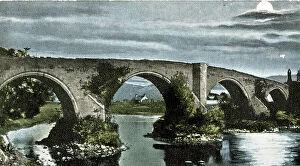
Old bridge, Stirling, Scotland. Date between ca. 1890 and ca. 1900
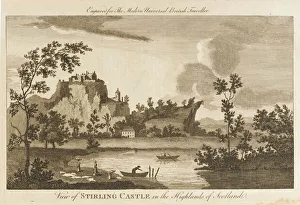
Scotland / StirlingThe Castle
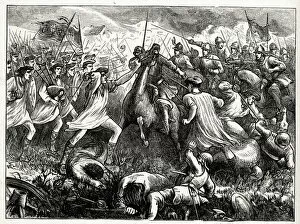
Charge of the Clan Maclean infantry (a Highland Scottish clan) at the Battle of Kilsyth, near Stirling, Scotland, 15 August 1645, during the Wars of the Three Kingdoms
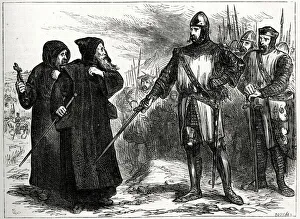
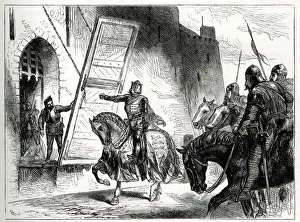
William Wallace, Scottish leader, talking to two Dominican friars who were acting as messengers for the English before the Battle of Stirling Bridge, 11 September 1297
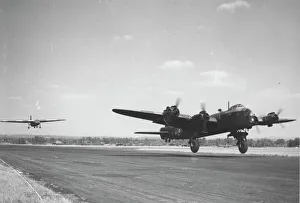
RAF Short Stirling Heavy Bomber Aircraft, WW2 Date: 1942
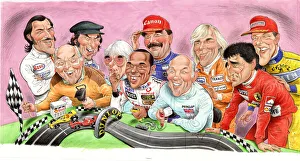
Motor racing driversGraham Hill, Murray Walker, Jackie Stewart, Bernie Ecclestone, Lewis Hamilton, Nigel Mansell, Stirling Moss, James Hunt, Alain Prost, Michael Schumacher - Motor racing drivers
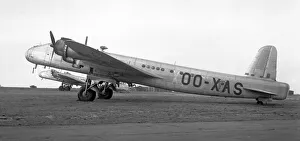
Short Stirling C. V OO-XASShort Stirling C.V OO-XAS 9msn SH1514), of Airtech Ltd, Thame, at Blackbushe airport. XAS was intended to be sold to Air Transport Co. SA. Of Melsbroek in Belgium, but was not delivered
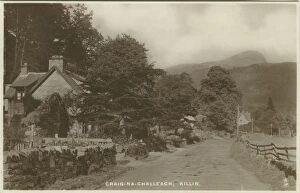
Craig-Na-Challeach, Killin, Stirling, Loch Tay, Stirlingshire, Scotland. Date: 1920s
War Memorial, Dochart Road, Killin, Stirling, Loch Tay, Stirlingshire, Scotland. Date: 1920s
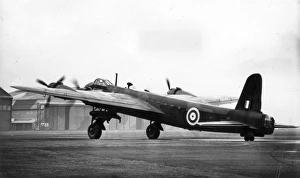
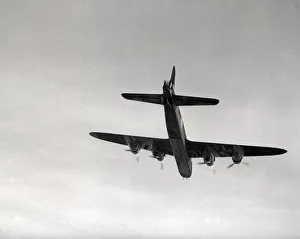
Royal Air Force Short Stirling B Mk. IIIRoyal Air Force Short Stirling B Mk.III. This very leaky Stirling is flying with the tail-wheels extended, probably due to the notoriously unreliable electric retraction mechanism
Wallace Monument, Stirling, Scotland
Wallace Monument Stirling Victorian period
Vale of Menteith, Stirling, Scotland, Victorian period
Stirling Castle, Scotland
Stirling Castle Victorian period
Abbey Craig near Stirling
Abbey Craig Victorian period
Stirling Forth Bridge Victorian period
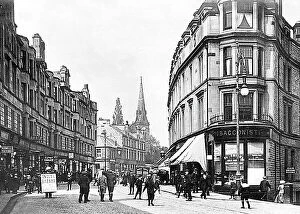
Stirling, Barnton Street
The Old Bridge of Forth, Stirling, Scotland Date: circa 1910
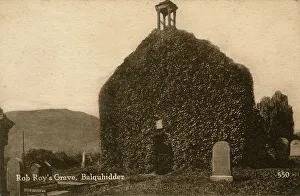
Rob Roy's grave, Balquhidder, Stirling, ScotlandGrave of Rob Roy MacGregor (1671-1734), Scottish outlaw and folk hero, in the churchyard of the village of Balquhidder, Stirling, Scotland. circa 1910
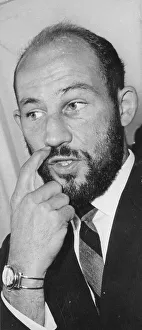
Stirling Moss, English racing driverSir Stirling Craufurd Moss (b 1929), English racing driver from 1948 to 1962. He retired after a crash left him in a coma for a month. His name has become synonymous with speed. Date: circa 1960s
The attack on Montroses cavalry at the Battle of Kilsyth, near Stirling, Scotland, 15 August 1645, during the Wars of the Three Kingdoms
King Edward II of England turned away from Stirling Castle after losing the Battle of Bannockburn, June 1314, part of the First War of Scottish Independence
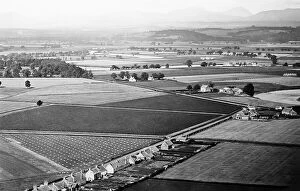
Plan of the Battlefield of Bannockburn, Scotland, 23-24 June 1314, part of the First War of Scottish Independence. Date: 1314
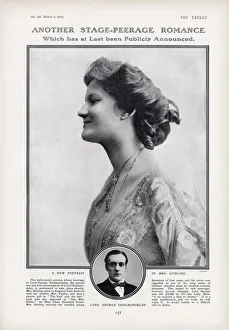
Page from The Tatler reporting on the marriage of Mrs Stirling (formerly Clare Elizabeth Taylor) of the Gaiety Theatre and Lord George Cholmondeley, second son of the Marquess of Cholmondeley
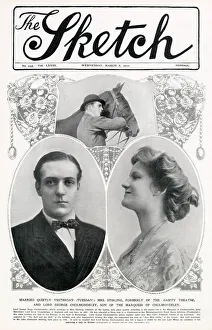
Front cover of The Sketch reporting on the marriage of Mrs Stirling (formerly Clara Elizabeth Taylor) of the Gaiety Theatre to Lord George Cholmondeley, second son of the Marquess of Cholmondeley
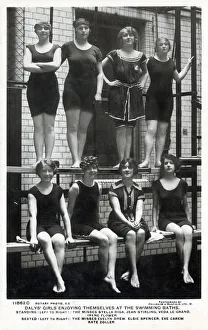
Dalys Girls enjoying themselves at the swimming baths. Standing (left to right): The Misses Stella Riga, Jean Stirling, Veda Le Grand and Irene Flower
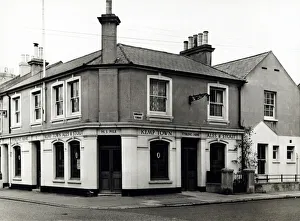
Photograph of Stirling Arms, Hove, Sussex. The main side of the print (shown here) depicts: Corner on view of the pub. The back of the print (available on request) details