mail_outline sales@mediastorehouse.com
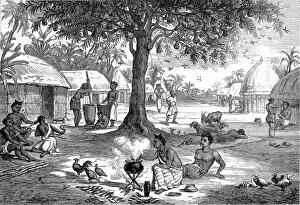
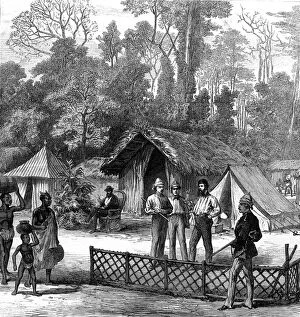
An Ashanti village before the 2nd Ashanti war in 1873Normal life in an Ashanti village before the outbreak of the second Ashanti War in 1873-74. The second Ashanti War fought between, 1873-74, was between King Kofi Karikari
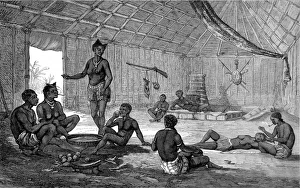
Interior of an Ashanti hut sketched before the 2nd Ashanti WInterior of an Ashanti hut sketched before the second Ashanti War. The second Ashanti War fought between, 1873-74, was between King Kofi Karikari, ruler of the Ashanti (or Asantehene)
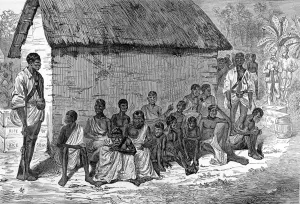
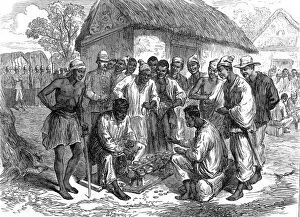
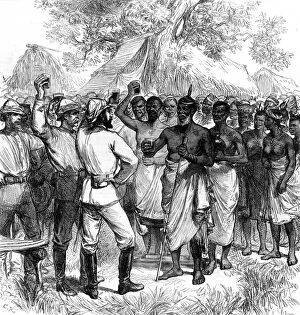
The Ashanti War (1873-74) - Ashanti prisoners of warAshanti prisoners of war huddled next to a hut being guarded by native soldiers. Two British officers are in the background
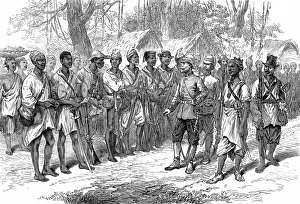
The Ashanti War (1873-74) - Inspecting troops at PrahsuBritish officers inspecting Kossohs, or warriors from a tribe hostile to the Ashanti, at the British camp based at Prahsu
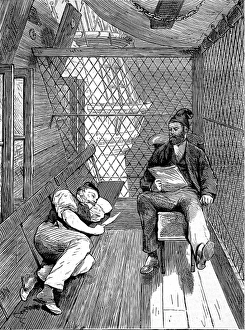
The Ashanti War (1873-74) - On board hospital shipThe so-called bird cage walk. On board the hospital ship Victor Emmanuel. Two invalids read while recuperating during the Ashanti expedition
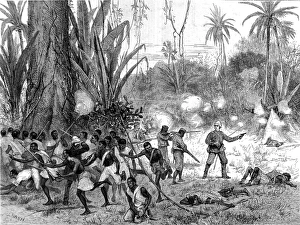
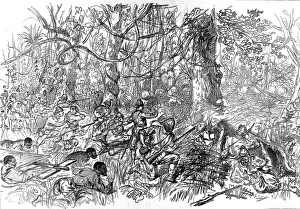
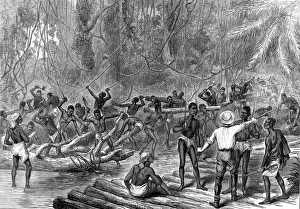
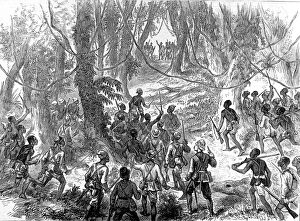
The Ashanti War (1873-74) - a bush fightThe Ashanti and British engaged in a bush fight in the jungle with fireamrs. The Ashanti War fought between, 1873-74, was fought between King Asantehene
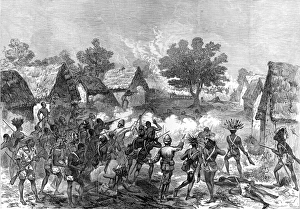
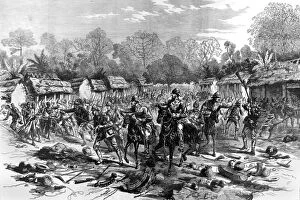
The Ashanti War (1873-74) - Storming a villageLord Gifford and advance scouts. using guns, storm a village during their advance on the Ashanti. The second Ashanti War fought between, 1873-74, was between King Kofi Karikari
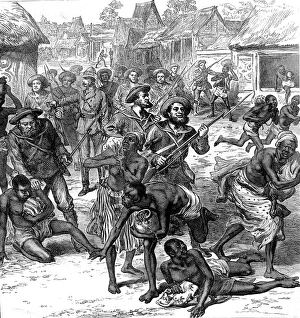
The Ashanti War (1873-74) - Naval Brigade in KumasiThe Naval Brigade clearing the streets of Kumasi (Coomassie) the capital of the Ashanti. The second Ashanti War fought between, 1873-74, was between King Kofi Karikari
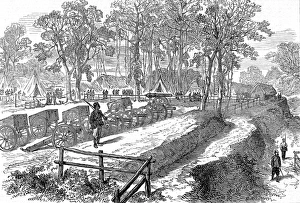
The Ashanti War (1873-74) - Artillery park in PrahsuThe artillery park in the British camp at Prahsu. The second Ashanti War fought between, 1873-74, was between King Kofi Karikari, ruler of the Ashanti (or Asantehene), and the British
The Ashanti War (1873-74) - Sir Wolseley receives news fromSir Garnet Wolseley surrounded by British and native soliders and bearers receives news from the front in the war against the Ashanti
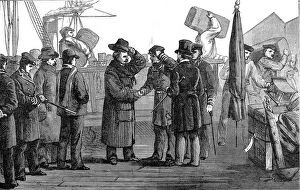
The Ashanti War (1873-74) - Sir Garnet Wolseley returns homeSir Garnet Wolseley returns to England from the Ashanti expedition. He lands at Portsmouth and is seen here raising his hat and shaking hands
The Ashanti War (1873-74) - Sir Wolseley entering KumasiSir Garnet Wolseley entering Kumasi (Coomassie), capital of the Ashanti during its brief capture by the British and native troops
The Ashanti War (1873-74) - Arrival of the Naval Brigade atArrival of the Naval Brigade in camp at Prahsu (on the river Prah, which had to be crossed to reach the coast). The second Ashanti War fought between, 1873-74, was between King Kofi Karikari
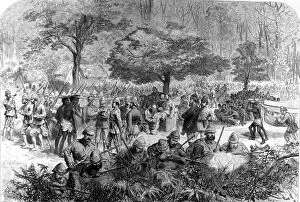
The Ashanti War (1873-74) - British headquarters at AmoafulThe British headquarters, with British officers and native soldiers, at the Battle of Amoaful. The second Ashanti War fought between, 1873-74, was between King Kofi Karikari
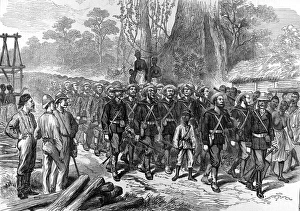
The Ashanti War (1873-74) - Advancing on KumasiThe British and native soldiers advancing on Kumasi (Coomassie). The second Ashanti War fought between, 1873-74, was between King Kofi Karikari, ruler of the Ashanti (or Asantehene), and the British
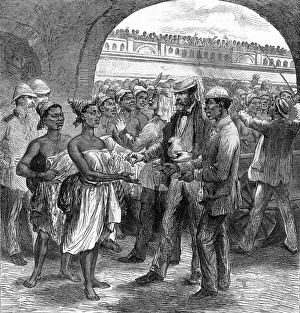
The Ashanti War (1873-74) - paying woman portersHere women porters or carriers from the Fante tribe (under British protection) are being paid at Cape Coast Castle. The second Ashanti War fought between, 1873-74, was between King Kofi Karikari
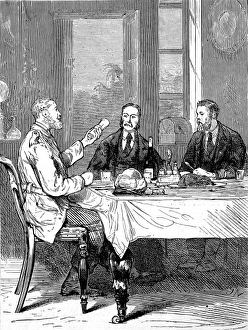
The Ashanti War (1873-74) - Dinner at Cape Coast CastleOfficers having returned from the bush enjoy a civilised meal at Cape Coast Castle during the expedition to defeat the Ashanti
The Ashanti War (1873-74) - making a road to KumasiBritish overseer giving instructions to tribesmen who are cutting down trees and making a road to the Ashanti capital, Kumasi
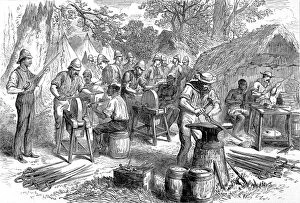
The Ashanti War (1873-74) - Sharpening cutlasses at PrahsuThe British contingent at camp in Prahsu making preparations for war, sharpening cutlasses. The second Ashanti War fought between, 1873-74, was between King Kofi Karikari
The Ashanti War (1873-74) - Native soldiers recreationNative soldiers playing at warry during a lull in hostilities. The second Ashanti War fought between, 1873-74, was between King Kofi Karikari, ruler of the Ashanti (or Asantehene), and the British
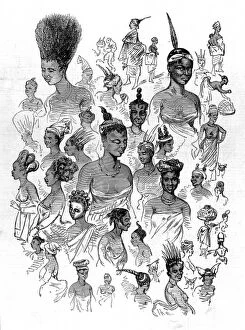
Female fashions at Cape Coast Castle - The 2nd Ashanti WarNative female fashions at Cape Coast Castle, garrison and headquarters of the British colonialists till 1877. This sketch was made during the second Ashanti War
The Ashanti War (1873-74) - Lord Gifford and scouts on the ALord Gifford and advance scouts on the Adansi hills being warned by an Ashanti priest not to go forward. The second Ashanti War fought between, 1873-74, was between King Kofi Karikari
The Ashanti War (1873-74) - The Black Watch in actionThe Black Watch fighting in the forest of Ashanti, from the picture by Louis Desanges. The second Ashanti War fought between, 1873-74, was between King Kofi Karikari
The Ashanti War (1873-74) - Correspondents Quarters at PrahNewspaper correspondents quarters in the camp at Prahsu. The man seated is the Times correspondent. Of the three men standing together represent, from left to right, the New York Herald
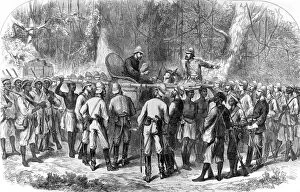
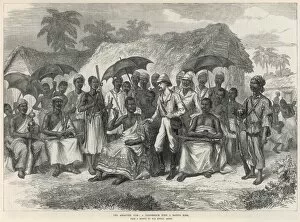
The Ashanti War (1873-74) - Conference with native kingA conference between the British and a native king. The second Ashanti War fought between, 1873-74, was between King Kofi Karikari, ruler of the Ashanti (or Asantehene), and the British
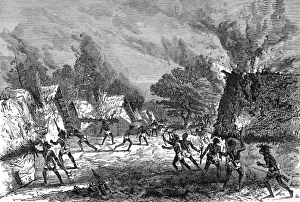
The Ashanti War (1873-74) - Setting fire to a villageLord Giffords scouts setting fire to a village and destroying houses during their advance on the Ashanti. The second Ashanti War fought between, 1873-74, was between King Kofi Karikari
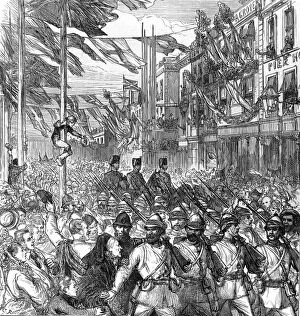
The Ashanti War (1873-74) - British forces arrive homeArrival of the 23rd Royal Welsh Fusiliers at Portsmouth from the Ashanti expedition. The second Ashanti War fought between, 1873-74, was between King Kofi Karikari
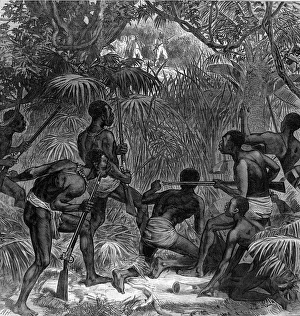
The Ashanti War (1873-74) - Ashantis in ambushAshanti people in ambush in the jungle during the British expedition to secure the West Coast of Africa from the King of the Ashanti people
The Ashanti War (1873-74) - Special Artist and native chiefThe Illustrated London News Special Artist drinking to the Queens health with the Abrakrampa Native Chief. The second Ashanti War fought between, 1873-74, was between King Kofi Karikari
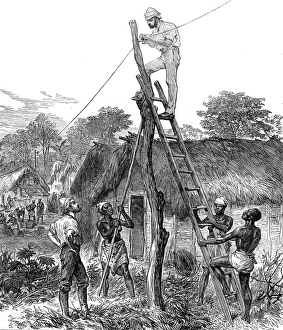
The Ashanti War (1873-74) - fixing telegraph wiresFixing telegraph wires on the road to the Prah river. The Ashanti warriors had crossed this river to reach the coast where they tried to maintain a stronghold
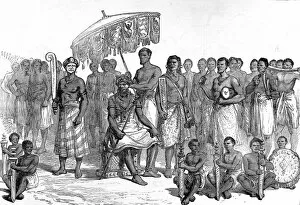
The King of Ashanti and his executionersThe King of the Ashanti people, Asantehene, with his executioners. The second Ashanti War was waged against this King and the British who wanted to secure the coast of West Africa
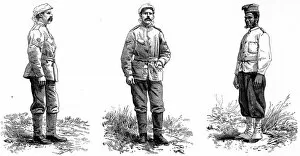
The Ashanti War (1873-74) - Uniform for the soldiers of theThese illustrations show the uniforms for the soldiers sent on the expedition to defeat the Ashanti King and secure the West Coast of Africa
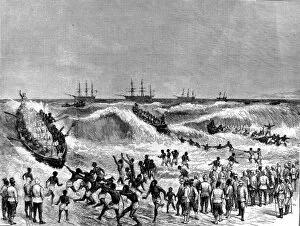
The Ashanti War (1873-74) - Landing troops on the Gold CoastBritish troops landing on the Gold Coast in their expedition against the Ashanti people to secure the West Coast of Africa
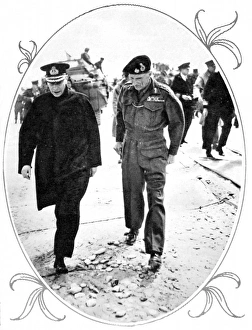
King George VI and General Montgomery, Normandy; Second WorlPhotograph showing King George VI (on left) and General Montgomery walking on one of the Normandy beaches, 16th June 1944
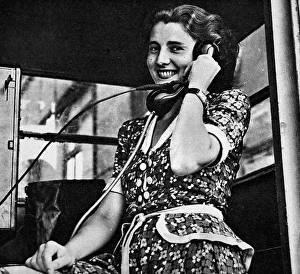
Woman making a telephone call, West Berlin, 1948Photograph showing a female citizen of West Berlin making a call from a public telephone box, August 1948. At that time, the fact that this telephone had a steel cable to secure the handset to
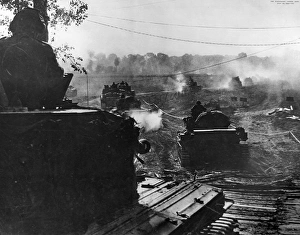
British Armoured Vehicles advancing in Normandy; Second WorlPhotograph showing British Armoured vehicles and tanks heading off to attack German positions in Normandy, France, during July 1944
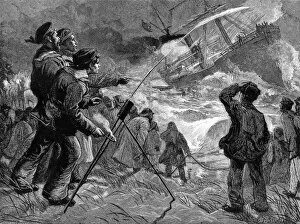
The Life Brigade firing a Rocket to a Ship on the RocksEngraving showing the firing of a rocket, by the volunteer life brigade, to a steam-ship being wrecked on rocks. If the rocket-line reached the ship
Scotland vs. Wales Football Match, 1930Photograph of some of the goal-mouth action that took place during the match between Scotland and Wales, in Glasgow, 1930
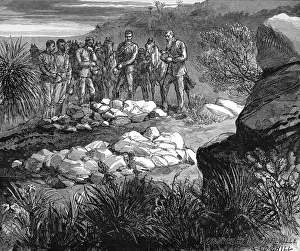
The Zulu war. Sketches at Rorkes Drift by Lieutenant H C HaGraves of Lieutenant Coghill and Melville who died trying to secure the colours of the 24th Regiment and were awarded posthumous Victoria Crosses
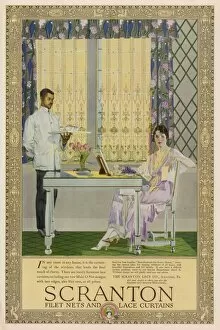
Scranton Curtains 1919A lady relaxes contentedly over her breakfast, secure in the knowledge that her curtains - by Scranton, of course - reflect her elegance and good taste
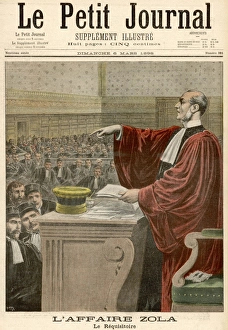
Dreyfus / Zola Loses CaseEmile Zola loses the libel case brought against him by the French army, fails to secure Dreyfus rehabilitation and is sentenced to imprisonment
Mother Tucks Son InA rather glamorous mother looks dotingly at her son whom she has just tucked into bed with his cuddly koala bear for company
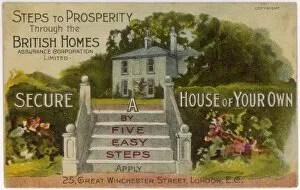
Buy as you Rent / PropertyA trade card of the British Homes Assurance Corporation Ltd. who invite you to buy as you rent - secure a house of your own in five easy steps
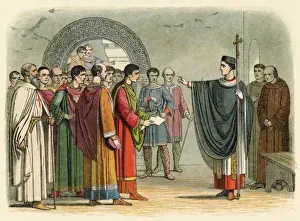
Becket / Constition / 1164Becket is confronted by the Earl of Leicester and refuses to seal the " Constitutions of Claredon" drawn up by Henry II to secure total obedience to the crown once more
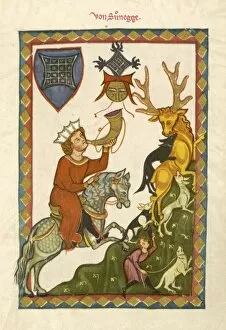
Hunting / Deer / 13th CThe dogs secure their catch while a gentleman on horseback blows the hunting horn
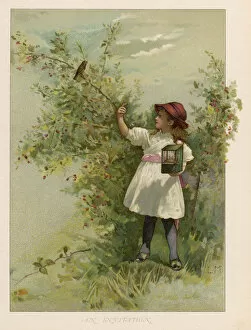
Robin Refuses Cage LifeA robin refuses a small girls doubtless well-meant offer of a secure home in a cage instead of the hazards of life in the wilds
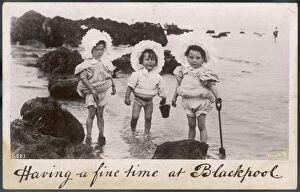
Frilly Seaside BonnetsThree little girls at Blackpool keep their complexions fair by wearing large lacy broad brimmed bonnets which secure under the chin with a bow
British Take TrujilloTo secure repayment of debts, the Royal Navy ship Plumper captures the port of Trujillo and briefly occupies it, destroying property etc