mail_outline sales@mediastorehouse.com
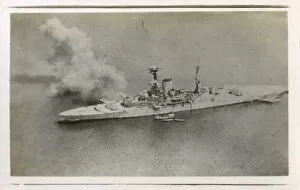
HMS Ramillies bombarding Turkish positionsBirds eye view (taken from a seaplane) of the British warship HMS Ramillies bombarding Turkish positions in the Gulf of Ismid in early July 1920
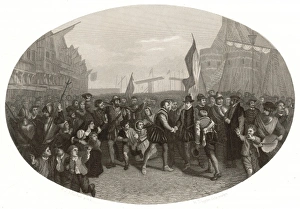
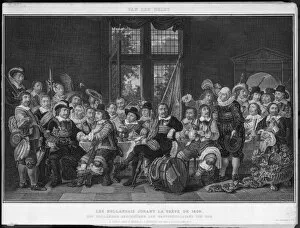
Willem De ZwigerWillem van Oranje, known as de Zwiger (the Silent) meets with other patriots at Enkhuizen : outlawed by the Spanish, he is now acknowledged as the leader of Dutch independence
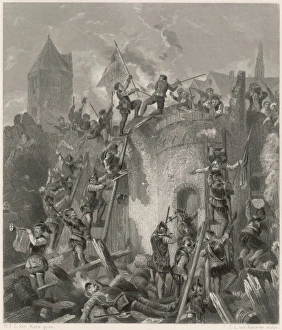
Siege of AlkmaarThe Spanish besiege Alkmaar, but are foiled by the towns heroic resistance, which will come to symbolise the Dutch determination to win their independence from Spain
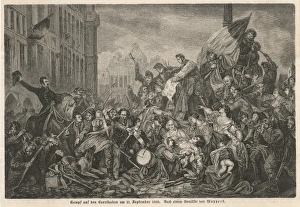
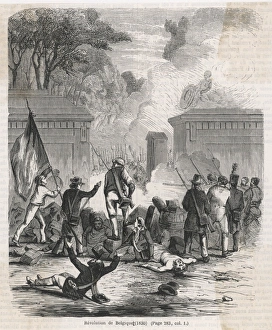
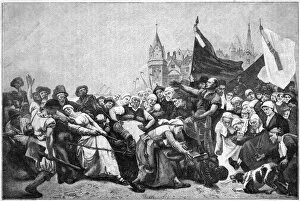
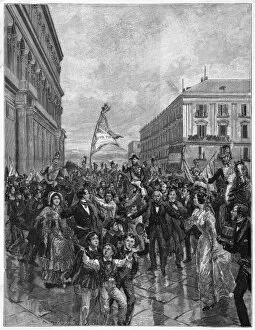
Riots in Brussels - 1Barricades in the streets of Brussels as the Belgians seek independence from Holland
Riots in Brussels - 2Barricades in the streets of Brussels as the Belgians seek independence from Holland
Demo at WarsawA huge popular demonstration in the streets of Warsaw, at the end of World War One, in support of the Allies who, they hope, will at last give them independence
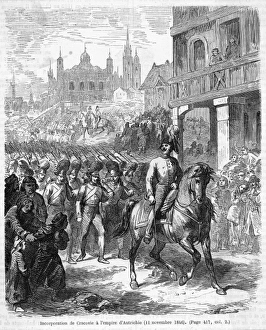
Krakow AnnexedIn defiance of a treaty guaranteeing independence, Austria annexes Krakow : there are protests from England and other countries
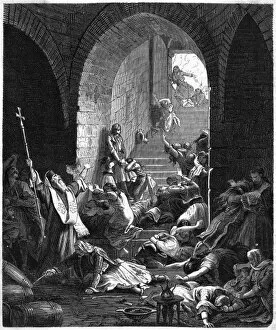
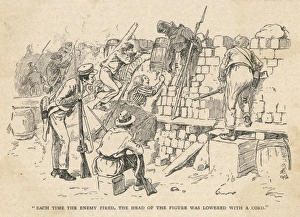
Turks Take MissolonghiAfter several tries, the Turks under Ibrahim Pasha take Missolonghi (now Mesalongion) from the Greeks, massacring many - 3000 Greek heads are displayed on the walls
Riots in Brussels - 3Manning the barricades in the streets of Brussels as the Belgians seek independence from Holland
Riots in Brussels - 4Firing a cannon in the streets of Brussels as the Belgians seek independence from Holland
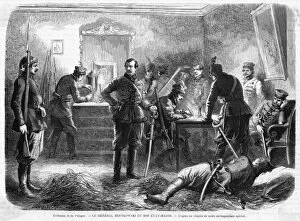
Insurgent HqThe headquarters of general Bentkowski, one of the leaders of the Polish forces fighting for the independence of their country from Russian rule
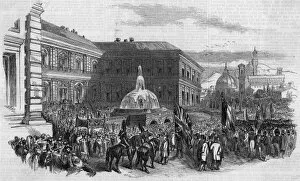
Tercentenary - 1The Netherlands celebrate three hundred years of independence : the scene at the gate of Brielle
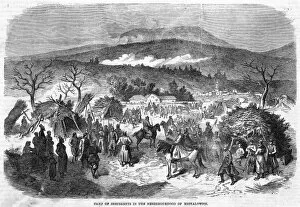
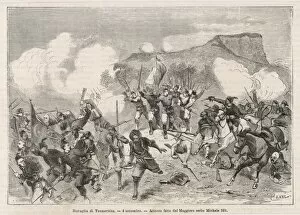
Insurgents CampThe encampment near Michalowicz of the insurgents supporting Langiewicz, who is emerging as the leader of the movement for Polish independence
Students CelebrateStudents at the University of Athens, most of them wearing national costume, celebrate 25 years of independence from Turkish rule
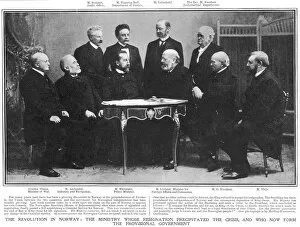
Independence - 1Following a disagreement with the king of Sweden, Norwegian ministers resign, and this leads to a declaration of independence : the ministers form a provisional government
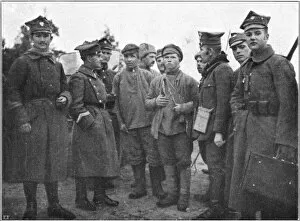
War with Russia - 2Bolshevik Russia attempts to seize the new republic of Poland, but the Poles fight for their independence with patriotic fervour : Russian prisoners and their captors
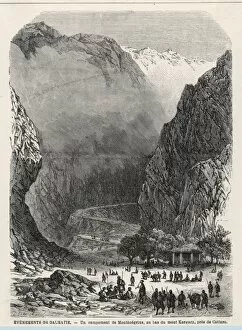
War with Turks - 1Montenegro is continually at war with the Ottoman empire to ensure its independence : the Montengran camp at mount Kerstatz, near Cattaro
Albanian OutpostDuring the on-going struggle for independence from the Ottoman rule, Albanian nationalists man an outpost at Jabliak, on the edge of lake Scutari
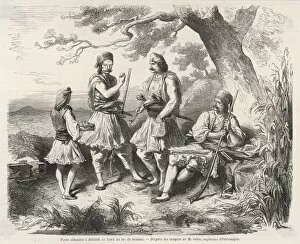
Fighting the TurksAn incident in the struggle for Serbias independence from Ottoman rule : Serbian commander Mihailo Ilik leads an attack on the Turks at Tcemerniza
Lammert Van MeliszoonNobody seems to know anything about Lammert Meliszoon van Westzanen, least of all us. But maybe he was a hero of the Dutch struggle for independence
War with Russia - 1When Bolshevik Russia attempts to seize Poland, the Poles fight for their independence with patriotic fervour : Polish cavalry in the streets of Warsaw
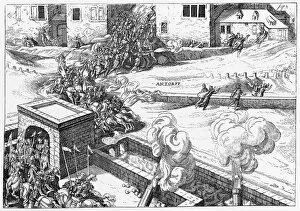
Antwerp AttackedThe Spanish storm Antwerp
Tercentenary - 2Despite the rain, the citizens of Amsterdam are determined to celebrate three hundred years of independence : the scene at the Dam
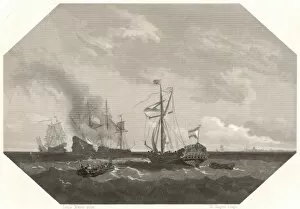
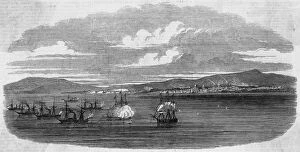
Vlissingen BattleThe port of Vlissingen (Flushing) is one of the first Dutch towns to assert its independence from Spain : in June 1572 a battle takes place between Dutch & Spanish ships
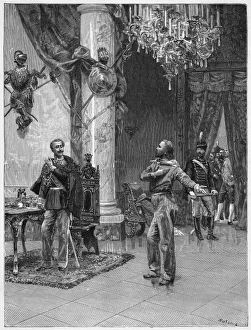
Alvas StatueAfter he is safely out of the way, the statue of the hated Alva is dragged through the streets by the citizens of Antwerp
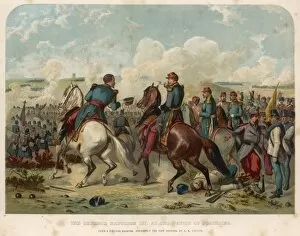
Solferino / BeauceBATTLE OF SOLFERINO Napoleon III on the field of battle, which resulted in a defeat for the Austrians, marking the beginning of Italian independence
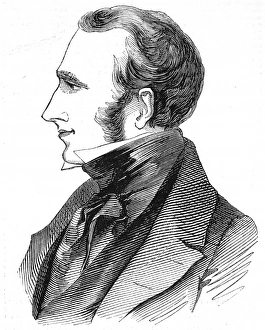
Lord Dudley Stuart, (1803-1854)Portrait of Lord Dudley Coutts Stuart, leading advocate of Polish Independence, engraved in 1843
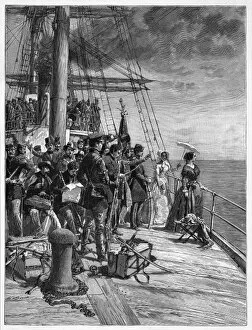
Veterans of the War of 1812; New York, 1865Illustration showing two veterans of the American War of Independence (of 1812), greeting each other in the streets of New York, 1865
Greece MissolonghiFamous as the deathplace of the poet Byron, who had come to Greece to help their struggle for independence from the Turks, but died here of a faver
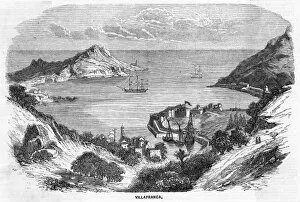
France VillefrancheFormerly Villafranca in Italy, Villefranche on the Cote d Azur was ceded to France along with Nice and Savoy in return for Frances aid in Italian independence
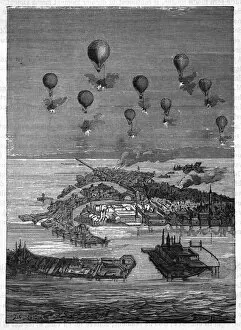
Aerial Attack on VeniceThe Austrians seek to subdue the independence-loving Venetians by aerial bombardment, using balloons - one of the first instances of aerial warfare
Carlo Alberto, king of Piedmont, joins in the war for independence from Austria
Catania BombardedCatania, Sicily, stronghold of the independence movement, is bombarded by the warships of the kingdom of Naples and Two Sicilies
Volunteers from NaplesLed by their belligerent princess, liberals from Naples volunteer to help Piedmont in her battle for independence from the Austrians
Garibaldi & Carlo AThe meeting between Garibaldi and Carlo Alberto, king of Piedmont, when the king is persuaded to join in the war for independence from Austria
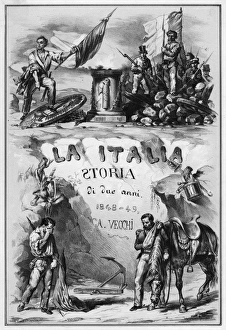
Storia Di Due AnniTitle page of Vecchis Storia di due anni which recounts the history of two crucial years in the history of Italy - the struggle for and the achievement of independence
Constitution in NapoliThough Ferdinando of Naples /Two Sicilies opposes independence, he grants a fairly liberal constitution which delights the populace
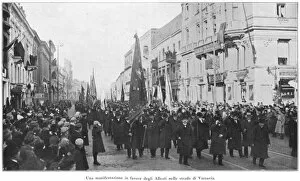
Demo at FirenzeDemonstrations outside the Palazzo Pitti, Firenze (Florence) in favour of independence
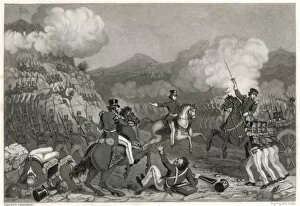
Battle of MontereyAt the battle of Monterey, the Americans under general Worth storm Independence Hill, enabling them to dominate the Mexican position in the Obispado (Bishops Palace)
Papal Ban at AnconaAncona, seeking independence, is placed under a ban by pope Gregorius XVI : newspapers encouraging resistance are smuggled in by balloon
Burgoyne Surrenders / 1777General Burgoyne surrenders at Saratoga, handing his sword over to General Gates
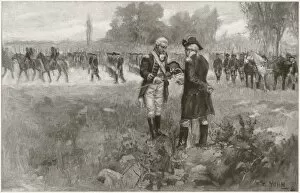
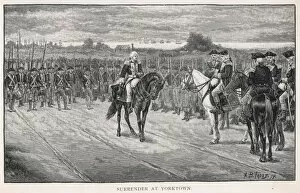
Cornwallis SurrendersCornwallis surrenders at Yorktown
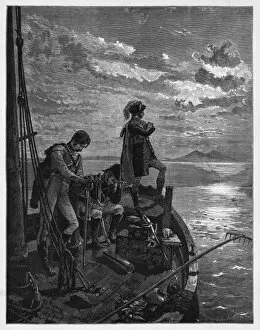
Murat to CorsicaJoachim Murat switches sides on news of Napoleons return from Elba, sailing to Corsica in a doomed effort to establish Italian independence
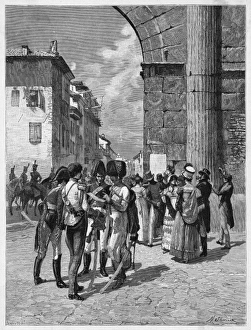
Proclama Di RiminiJoachim Murat issues a proclamation inciting the people of Rimini to unity and independence
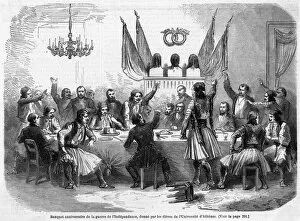
TRUCE OF 1609The Dutch celebrate the truce of Antwerp with Spain, which effectively terminated the war and secured the independence of the Netherlands
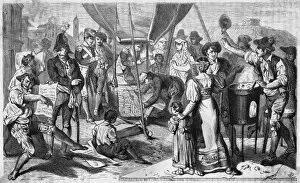
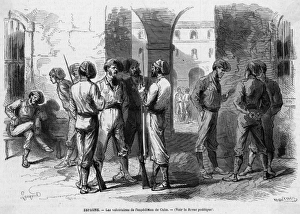
Volunteers for CubaRegime change in Spain encourages some Cubans to seek independence : in Spain, volunteers prepare to go to Cuba to suppress the insurrection
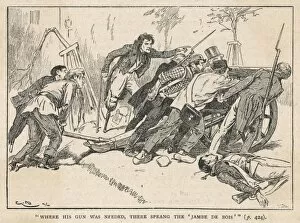
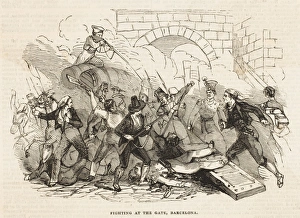
Fighting in BarcelonaFighting at the gate, Barcelona : the Catalonians are caught up in the Carlist Wars in addition to their own wishes for independence